


Width: if you are getting near the end (e.g. there are very few markers left), and the scarf seems too narrow, start adding extra plain rows between the bloop rows. They will blend in with the rest of the scarf because of the flow of the design.
If you still have a lot of markers left but the scarf seems to be getting too wide, start doing two bloops in each row, not next to each other, and don’t use any plain rows between the bloop rows.
Similarly, the flow of the design will make this just seem part of the pattern.
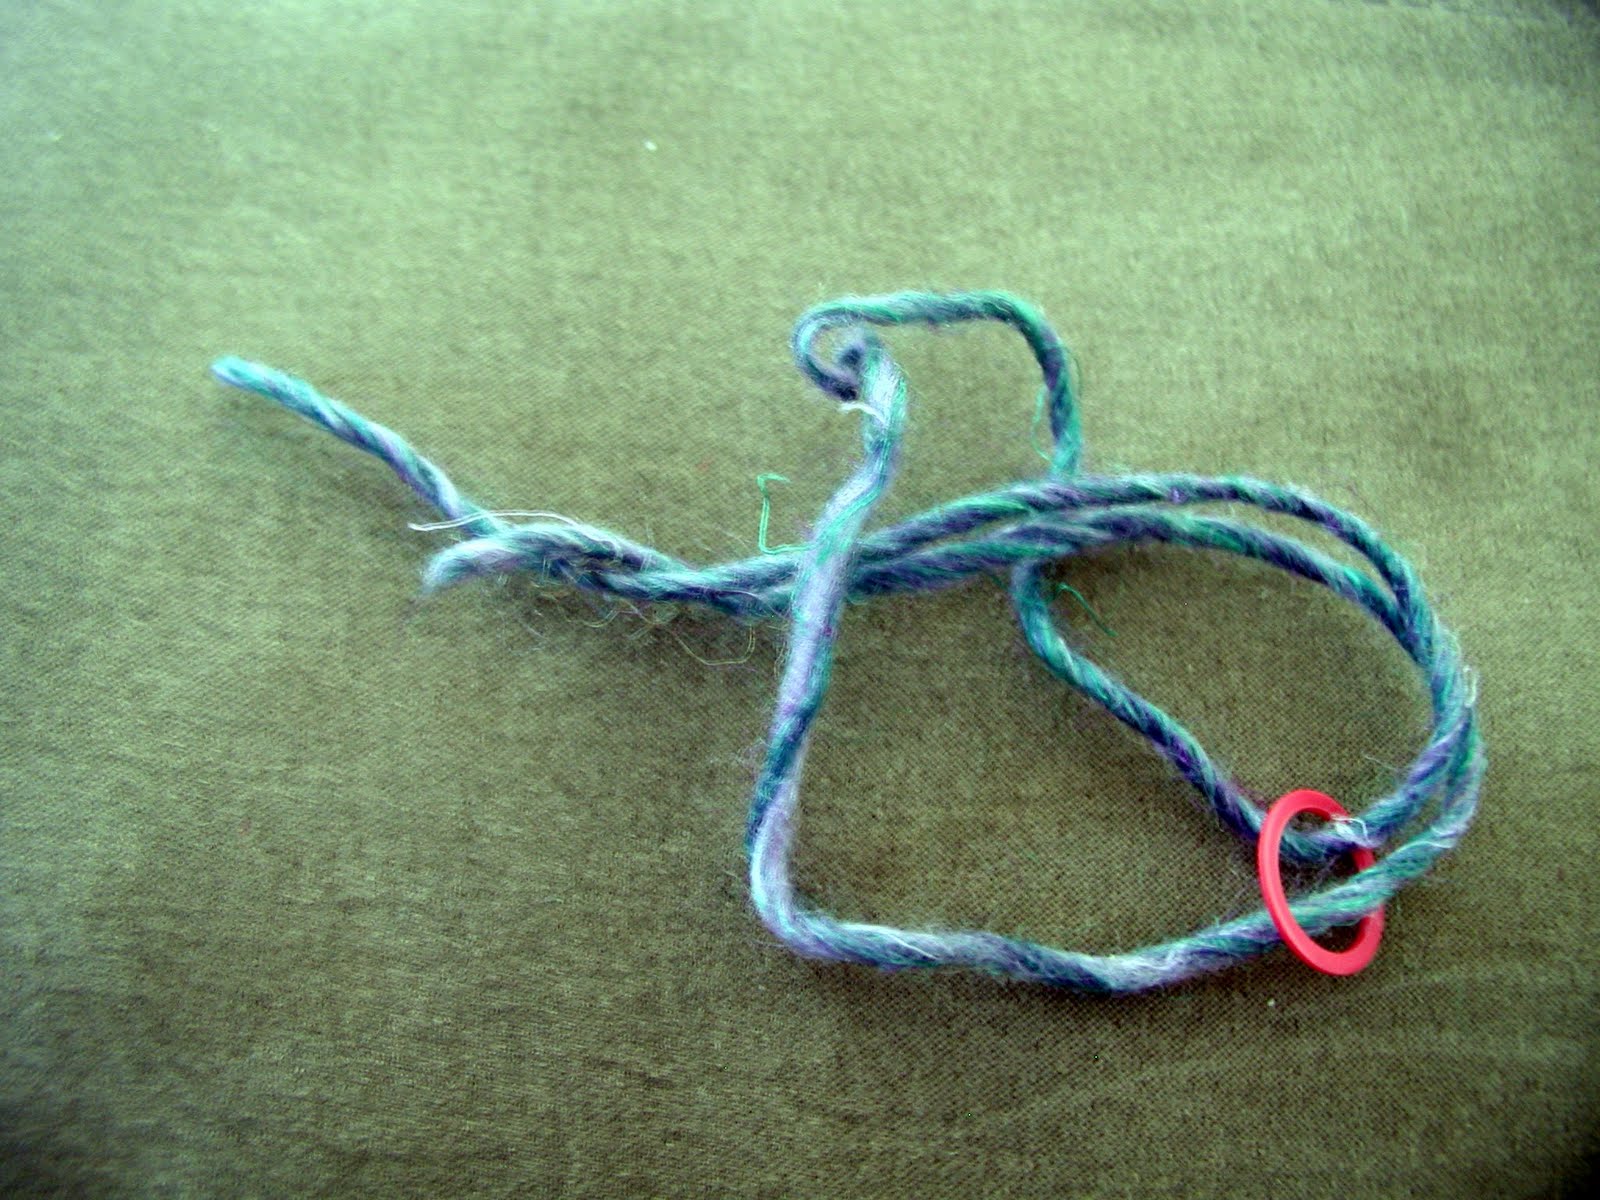
Markers: Because you are slipping the markers, it helps to have a tail of yarn on them, which ends up being woven in and out as you knit back and forth. This tail will keep the marker from jumping off the needle as you move it or slip it.
Also, if you find you have trouble remembering which marker is the SM and which is the MM, you could use a small clip, broken-ring marker, or even an extra and distinctive second marker on one of them to remind you which it is, but just remember to do it consistently for each bloop (write it down, if you need to), so it helps you instead of confuses you more.
This pattern describes the way I use markers to make my bloops, but if you think of a method that makes more sense to you, then go for it!
Here are some pictures of markers with tails and how to add the tail:


Memory Helpers
Stationary Marker (SM)
- You are always slipping it, not taking it off.
- It is always closer to the end of the scarf than the MM
- You are always knitting past it and wrapping into the previous color
Movable Marker (MM)
- You are always taking it off, wrapping and turning, and knitting one or two stitches before replacing it
- It is always closer to the beginning of the scarf than the SM
- You are always knitting and wrapping into the same yarn you are knitting with
No comments:
Post a Comment