Showing posts with label techniques. Show all posts

Saturday, January 4, 2014

Darn Good Scarves

I've shown these types of scarves before, but here are the latest two.


They both have multicolor silk ribbon yarn from Darn Good Yarn as the center, and then stitches picked up around the edge, with a yarnover between each middle arm.


The middle yarn does the talking, so I make the hairpin lace wide and just edge it with a couple of rows of knitting on large needles.


For the end parts, I picked up some stitches for the edge, and then increased before and after each corner stitch on every other row (the 'right side' of the garter).


These scarves are rather long, at least 6 feet. The ribbon yarn works up fast when doing the hairpin lace part. These are best suited to be worn doubled.


The edged hairpin lace scarf is now one of my go-to patterns.

Thursday, May 30, 2013

Let Us Join Together

Here is another start-from-the-middle scarf, with a narrow row of hairpin lace as the start.


The colors were actually inspired by a lucky juxtaposition of yarns after a shopping trip. That is a yardstick, for size.


Here is a handy tip, shared with me by the very clever owner of The Knitting Patch. When I finished the edging the first time, I didn't know how to elegantly join the flat tube yarn, so I just hobbled it together.


Here is the trick she told me: unravel some of the yarn from the end of the tube, and use it to kitchener stitch the tubes together. How genius is that!


I thought it would be really fiddly to do, but it wasn't bad at all. For one thing, you need to keep the stitches very loose, and that helps for seeing what you are doing.

And this one looks like a cat on a surfboard.


Sunday, August 19, 2012

Start-in-the-Middle Scarves

I've been playing around with an idea which got started from the super-easy cast-on of picking up along the side of one of the new ruffle yarns. What if you could pick up from both sides of the ruffle yarn?

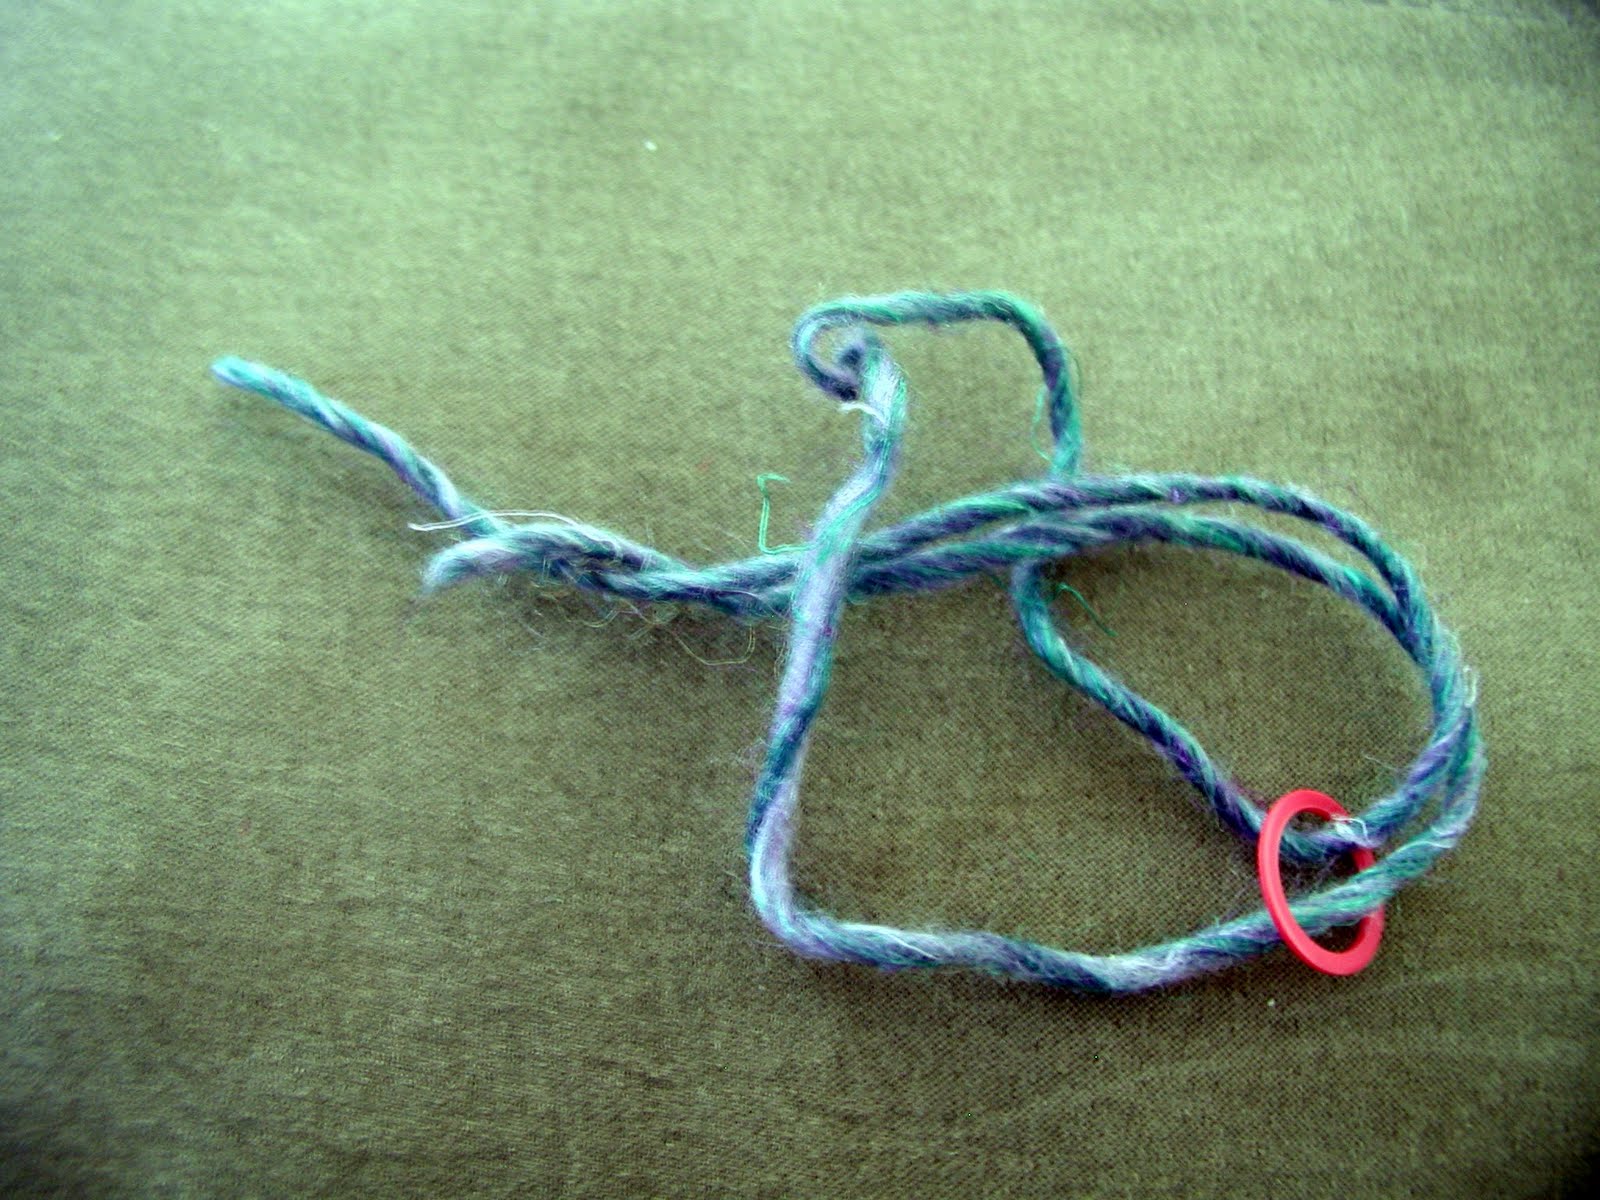
But most of those yarns are made so each side is different, and that was going to take some thought. In the meantime, I looked through my stash and found this.


Using one of my magic balls of yarn, I picked up every other loop on one side with a size 11 needle, and then picked up the remaining loops on the other side with another size 11 needle, placing two markers at each end. Then I just continued knitting one entire round, and then purling the next so I had a garter effect, and continued in this fashion until it was wide enough.


At each end, I increased on either side of the markers on each knit round, which is what squared off the ends.


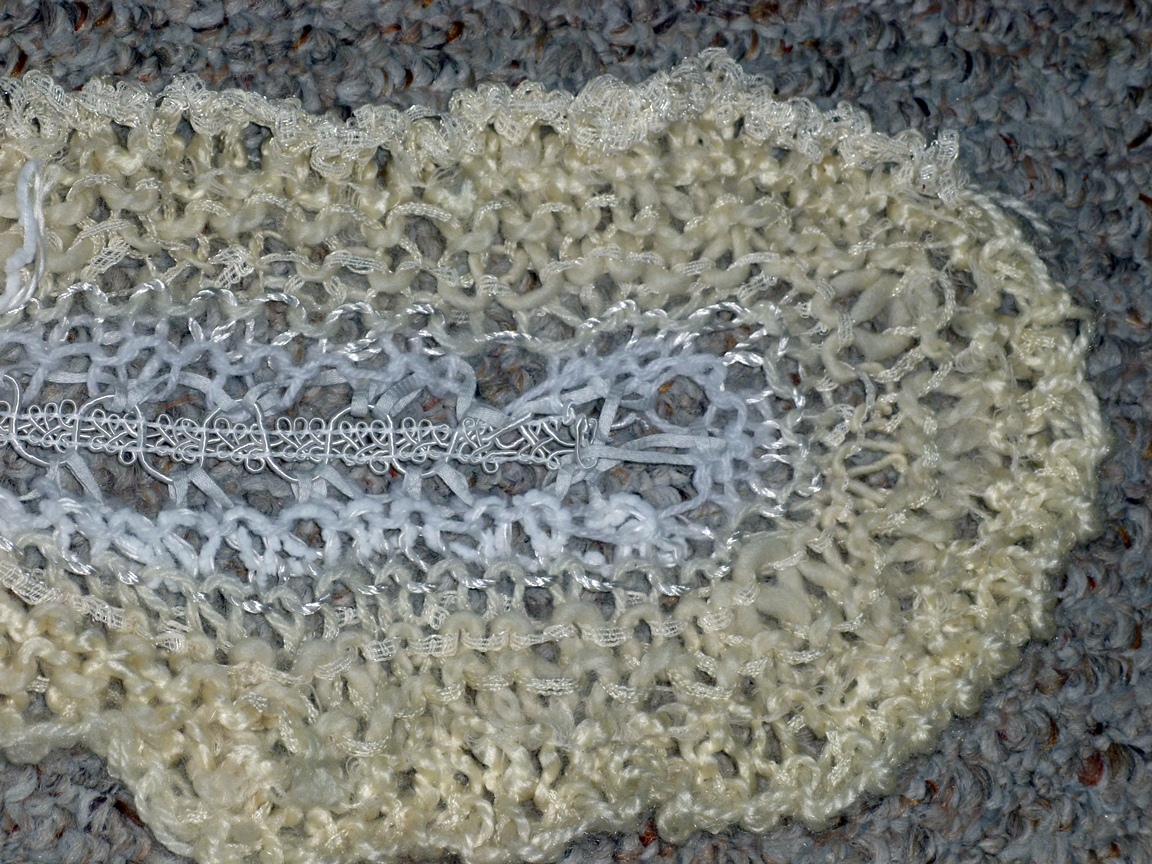
Here's one more look at the center. By picking up every other loop, it ended up looking like a bit of lace in the middle.


All in all, a success! And this made me brave.

So I went to JoAnn's (a craft and fabric store) looking for some lace to use the same way. I found this.


I took another magic ball, this one from all whites and beiges, and made another scarf the same way.


I rounded off the ends of this one instead of squaring them by adding 4 stitches roughly evenly spaced between the end markers on each knit round.


Here are some other looks, although note that I haven't blocked this one yet.


Another success. 

I think of the yarn at JoAnn's as being on the cheap and less interesting side, so I was astonished at how beautiful much of it was--my, how yarn choices have grown! I bought these while I was there.


And these inspired me to return to my original idea, and begin in the center with the ruffle yarn. I solved the sides-not-matching issue by doubling it and then using the other yarn to crochet a join up the middle, before picking up and starting around and around the sides. 

Here's the result.


I tried to match the ruffle yarn in the middle so that the same shade was on either side of the join. The middle was unexpectantly large, so I only had to knit a few rounds (using the rounded corners again) before casting off, pulling in some of the same ruffle yarn in each cast-off stitch.


It looks very glamorous in real life. Here are some closer pictures.


I'm very pleased with all the scarves, and they couldn't be easier to make. I'm going to have to try a few more variations.

Oh, and those glimpses of tabby tails? They belong to him.


The inspector.

Wednesday, July 25, 2012

Bloops in Triangles

I continue the exploration of Planet Bloop.


(This shows the shawl hanging in my office.)

My exploration was whether bloops would work with increases. I think it was a success.


It was knit vertically, increasing one stitch at the beginning of each ridge, and leaving a tail at the beginning and end to make the fringe. (I knotted them together as I went along.) When it seemed long enough, I began decreasing at the beginning of each row instead.


The first few ridges were done plain, and then I started a small bloop sequence with a plain row in between the bloop rows. The part that worried me was the end bloops: what would happen as the rows increased, and then decreased? How do the bloops work there?


What I ended up doing was saving the bloop nearest to the edge until the end of each sequence on the increase side, and making it the first bloop in the sequence on the decrease side, just to be sure it was accounted for. In retrospect I don't know for sure if I needed to do that, but it worked well enough.


However, on the increase side I did learn to make the bloop next to the final edge one as early as possible, because as the edge grew, it was easy to end up having to finish a sequence with a lot of bloops next to each other, which didn't help the random look I was after. On the decrease side, I had to be careful to make the ones near the top early on.


The pictures don't show it very clearly, but the top edge is again the ruffle yarn.

Thursday, July 12, 2012

Turn the Corner


Since Mermaid's View is basically a log cabin pattern, I began with the green rectangle in the middle.


As usual, I used my markers with tails to define the bloops.


I don't have pictures of the entire process but I'll do my best to explain.

Once the green section had been completed (e.g. all the bloops were made and the markers were removed), I didn't cast off, but instead picked up stitches along one side and switched to the orange color group. I knitted one plain ridge (garter stitch across and back) across all the stitches, placing the markers for the bloops. At the corner I placed three special markers so I could always distinguish which ones these were.

When I got to the trio of corner markers on the first bloop row, I added a stitch on either side of the middle marker (so I had marker - stitch - center marker - stitch - marker), and on each subsequent right-side row I added another stitch on each side of that center marker. This meant that as I added rows, the two outer markers got farther and farther from the center one.

Here is the trick to make this work for bloop knitting: whatever color I was using when I got to the first marker was continued until I got to the third marker. In other words, the corner section was just an elongation of whatever was happening with the stitches on either side of it. If I was making bloops, the corner section didn't count as stitches. If I had to increase 3 stitches for my bloop, and the stitch just before the first corner marker was stitch 1, then I would knit that one stitch, continue knitting through the center section, increasing one on either side of the center marker, and then after the third center marker I knit the other two bloop stitches, wrapped and turned, and knit back.

This meant the center section increased as part of any bloops that were being created around it. Perhaps you can see this here (it is really a square, but slightly distorted because of how this is hanging on the bar).


With that hint, can you see it elsewhere?


I really love this piece now, but when I was knitting it, I almost took it apart just after staring the orange corner, because I hadn't realized how on the part where I didn't cast off (now on the bottom of the green section) the orange would look like a continuation of the green bloops. I was afraid that the log cabin sections wouldn't be distinctive as sections.

In the event, I didn't have to worry, but I wanted to share that moment of doubt in order to inspire you (and myself) to be a little more patient. Some things can only be seen large.

Sunday, July 1, 2012

Bloop Stole

('Stole' the noun, not 'stole' the verb!)

Just like the scarf, only you do two or three repeats of the entire pattern before binding off. I used slightly larger bloops for this one.


There is a plain ridge of thin green lace yarn, almost like a thread, in between each color section, to make it lighter and more drapy.


This one had the easiest of cast-ons, a brown ripple yarn threaded back and forth on the needles, and then when I cast off, I threaded the same ripple yarn into it.


Easy and quick!

Saturday, June 23, 2012

Bloop Scarf Tips


Width: if you are getting near the end (e.g. there are very few markers left), and the scarf seems too narrow, start adding extra plain rows between the bloop rows. They will blend in with the rest of the scarf because of the flow of the design.

If you still have a lot of markers left but the scarf seems to be getting too wide, start doing two bloops in each row, not next to each other, and don’t use any plain rows between the bloop rows.

Similarly, the flow of the design will make this just seem part of the pattern.


Markers: Because you are slipping the markers, it helps to have a tail of yarn on them, which ends up being woven in and out as you knit back and forth. This tail will keep the marker from jumping off the needle as you move it or slip it.

Also, if you find you have trouble remembering which marker is the SM and which is the MM, you could use a small clip, broken-ring marker, or even an extra and distinctive second marker on one of them to remind you which it is, but just remember to do it consistently for each bloop (write it down, if you need to), so it helps you instead of confuses you more.

This pattern describes the way I use markers to make my bloops, but if you think of a method that makes more sense to you, then go for it!

Here are some pictures of markers with tails and how to add the tail:


Memory Helpers


Stationary Marker (SM)

  • You are always slipping it, not taking it off.
  • It is always closer to the end of the scarf than the MM
  • You are always knitting past it and wrapping into the previous color

Movable Marker (MM)

  • You are always taking it off, wrapping and turning, and knitting one or two stitches before replacing it
  • It is always closer to the beginning of the scarf than the SM
  • You are always knitting and wrapping into the same yarn you are knitting with